5 Awesome and Free Services for your Open Source Projects
Code matters, but also does the infrastructure for your Open Source project. Automating tasks not only improves the software's quality you deliver, it also gives you more time to code and less things to worry.
In this post I'm gonna show you some of my favorite free services and explain everything you need to get them up and running for your project on GitHub.
1. Greenkeeper
Greenkeeper is a service to keep your dependencies up to date automatically. It udates the dependencies on your package.json whenever there are updates available and then sends you a Pull Request.
I highly recommend you to use it alongside a CI service like Travis CI, this way you will be able to get your project built for every pull request you receive. This means everytime Greenkeeper updates your dependencies and sends a pull request your tests will be run again and you will know if the changes are good for a merge.
To start using Greenkeeper on your project the first thing you need to do is install it globally using npm install -g greenkeeper. After installing it you should run greenkeeper login on your terminal and your browser will open asking you to login to GitHub. After logging in you should navigate to your repository's folder using your terminal and type: greenkeeper enable. That's it. In a few seconds you should receive your first GreenKeeper pull request with some useful pieces of information.
2. Travis CI

Travis CI is one of the most widely used Continuous Integration services, it's my personal favorite CI system and, of course, it's free for Open Source projects.
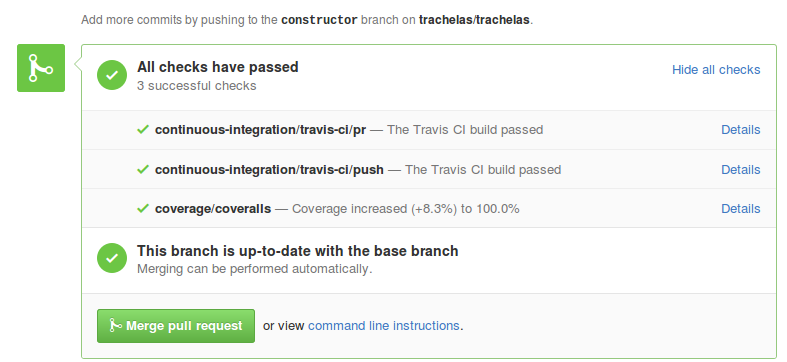
With Travis CI you will be able to get a build for every branch and Pull Request on your repository, which is awesome, because it means you will know right away if those commits are passing the tests and if the build is running with success. You won't even have to go to https://travis-ci.org to see it, your build status will appear inside GitHub just before the "Merge pull request" button, as you can see on the image below.
Travis also has an awesome docs page which teaches you everything you need to know about their service. Just in case you don't want to read their instructions, this is what you've gotta do to start using Travis on your project:
- Go to Travis' website and login using your GitHub account
- After logging in you may need to sync your repositories', to do this you should open your profile page and then click on the "sync" button at the top of the page
- Turn on the Travis' service clicking on the button next to the desired repository's name
- Add a
.travis.ymlfile to your repository with the desired options for your project and push it to GitHub. Doing this will automatically trigger a build.
If you're using Node.js I recommend you to create an specific command like test-ci on your package.json file (inside the scripts key) and get Travis to run it when building.
For more information on what to put inside .travis.yml you can check out this page.
3. Coveralls
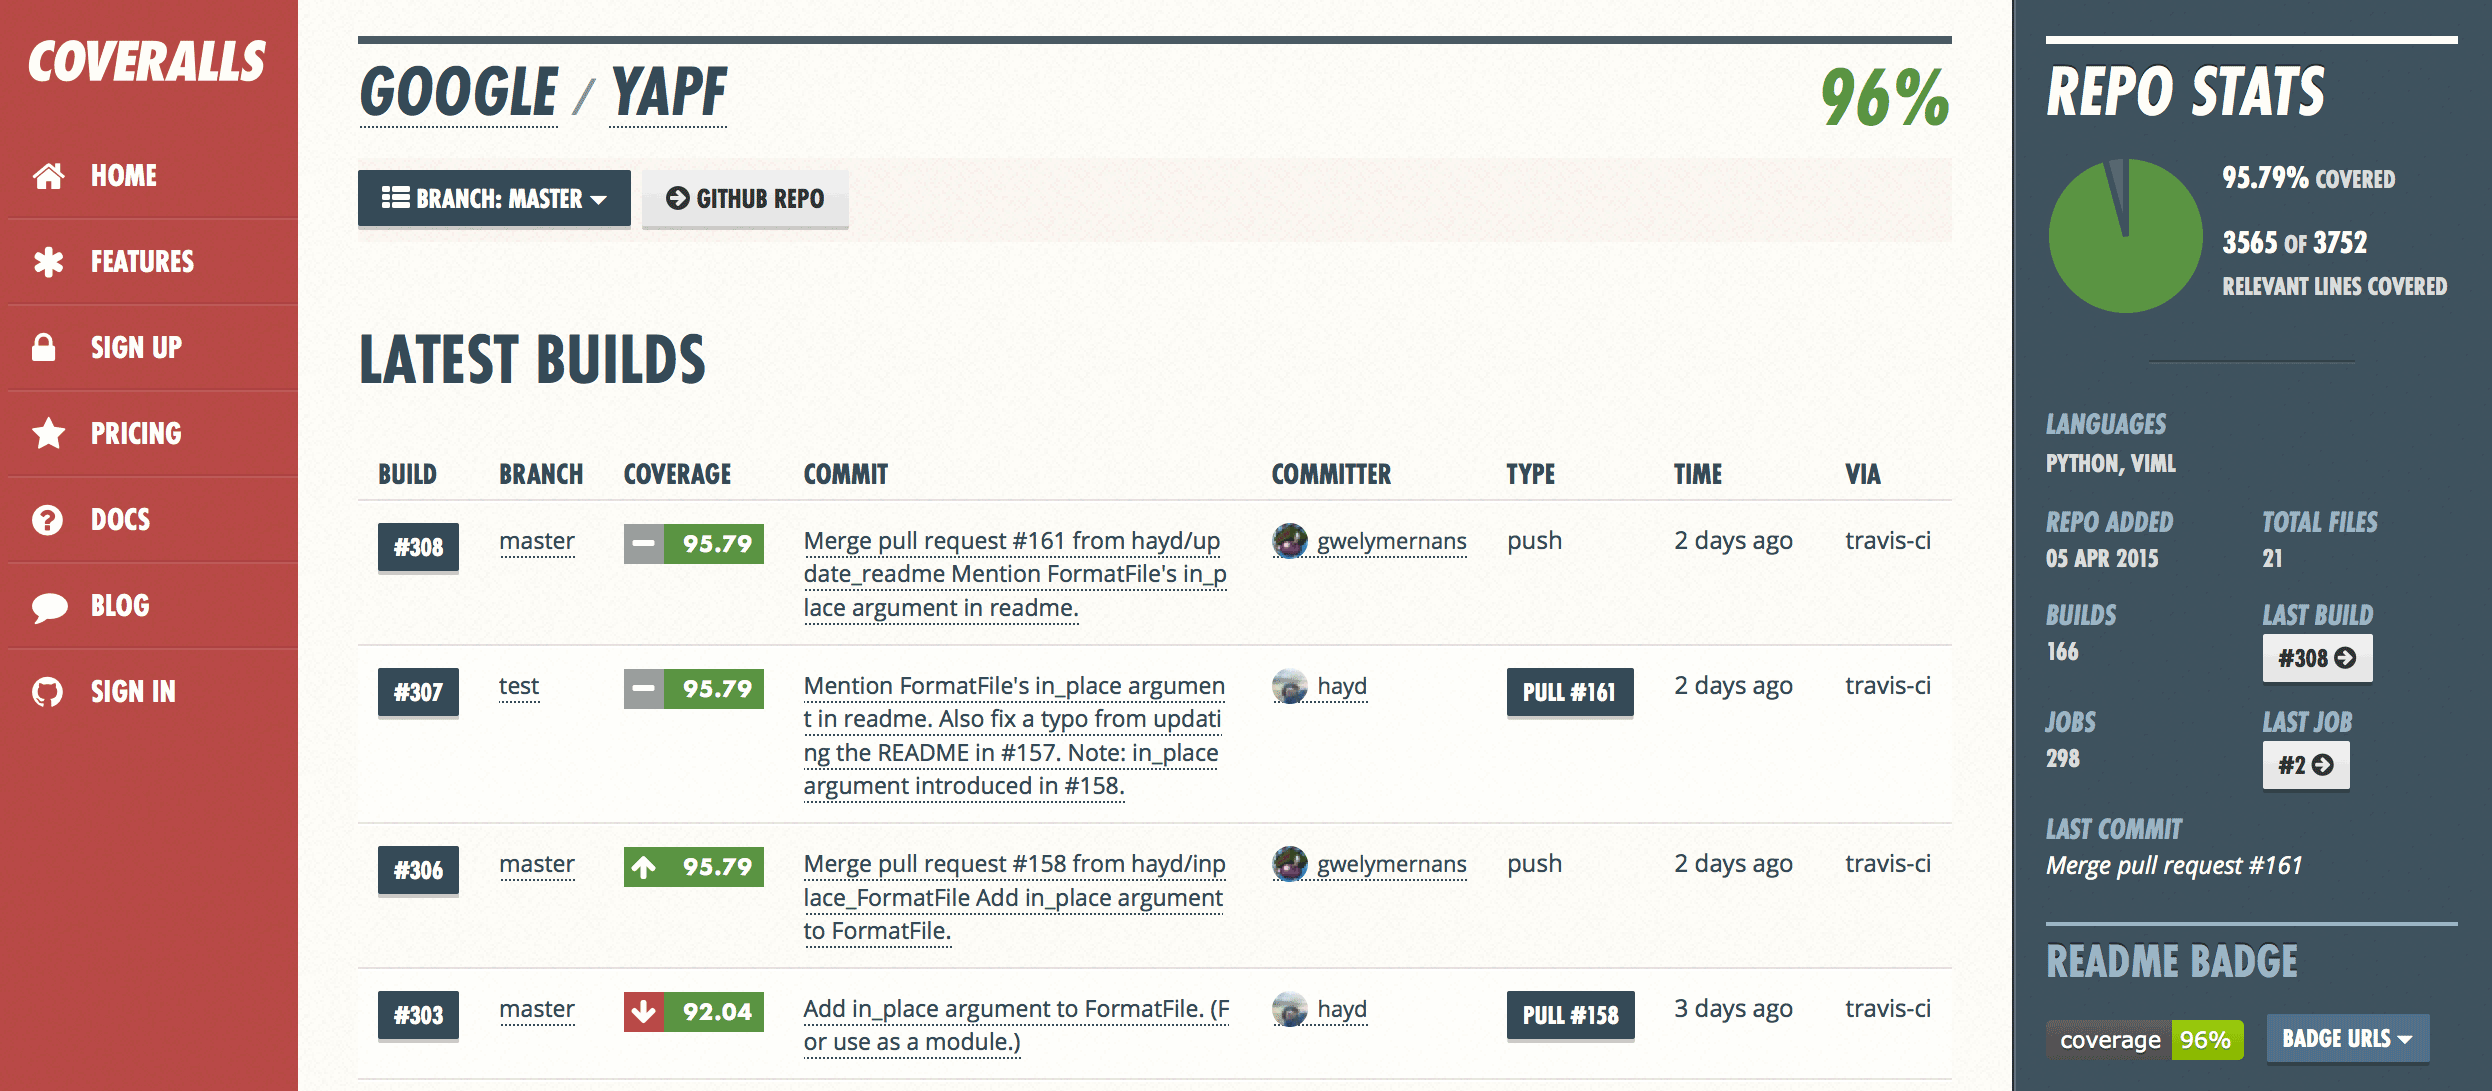
Coveralls is a code coverage service that tells you how many % of your code is getting tested and keeps a history of the code coverage as your project advances. You can also see what parts of code are getting tested and the ones that aren't, this means you will know exactly what your tests aren't covering.
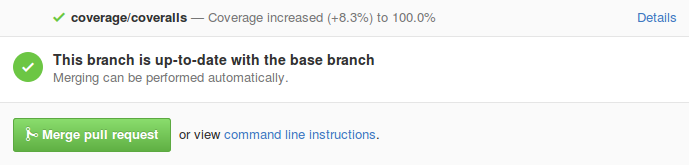
As it happens with Travis, Coveralls' status also gets showed just before the merge button for every built Pull Request. It indicates the current coverage and how much of it changed since last build.
What you will basically need to do to use it is upload your coverage .lcov file to Coveralls. If you want to learn how to do so you can check this article I've made on how to get code coverage reports using gulp and mocha and then send them to coveralls.
They also have pretty good documentation and there is a nice README made by nickmerwin on GitHub teaching you everything you've gotta do to get coveralls up and running.
4. Codacy
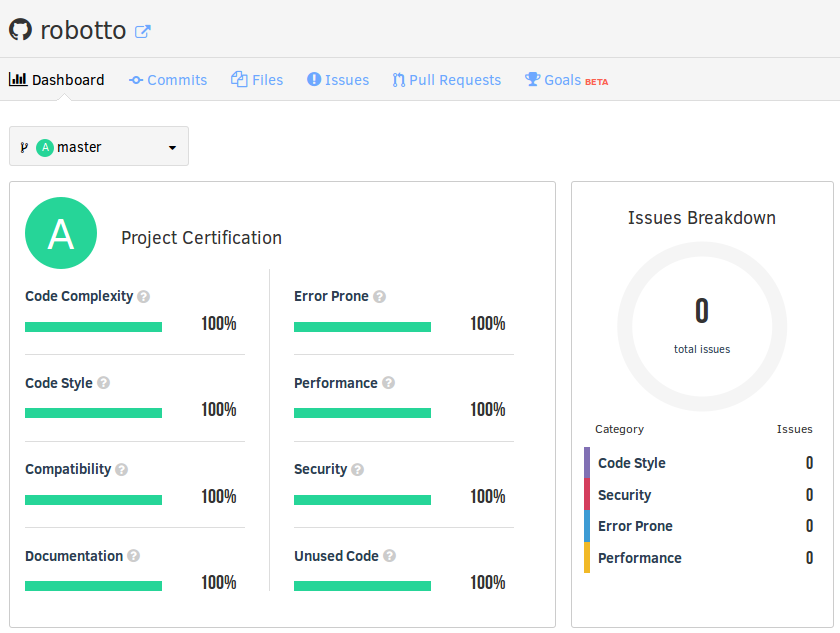
Codacy is mainly a code quality service.
It gives you very specific feedback on what to fix and how it affects your code. As you could see on the image above there are many quality criteria and each one of them has a different meaning.
In case you have any problems you just need to click on the criteria you wish to improve and Codacy will tell you what to fix.
To start using Codacy you should login on their website and then register the repository you want to test. After registering your project it should be shown at your projects page.
It may take a while until Codacy finishes evaluating your repository, but I guarantee it will be worth the wait. If you have any doubt they also have this nice and complete docs page.
5. David

David simply gives you an overview of your project's dependencies, telling you if they're up to date or not.
Differently from the other services in this list, David's only way of telling you the status of your project is using a badge image. To get a badge as the one below, just follow the pattern described on the image.

To keep track of your dependencies status I recommend you to put this badge into the top of your README file, doing this you, and everyone, will be able to see your project's dependencies status.
BADGES, BADGES AND MORE BADGES!
Well, here comes one last tip: shields.io.
Shields.io let's you have awesome badges to display your project's current status on any of the services above and many more. Putting them on your README file will allow others to see your code quality, coverage, if your build is passing, if your dependencies are up to date and any other things you want.
You can also create custom badges, such as the one below. See you next time!

Subscribe
Get an email when I publish a new post. I'll never send you spam.
